

How To Add The Crack File In Teh App On Macbook Air
How To + Software & Apps
How to Install Applications on Your Mac
Posted on March 23rd, 2021 by and Kirk McElhearn
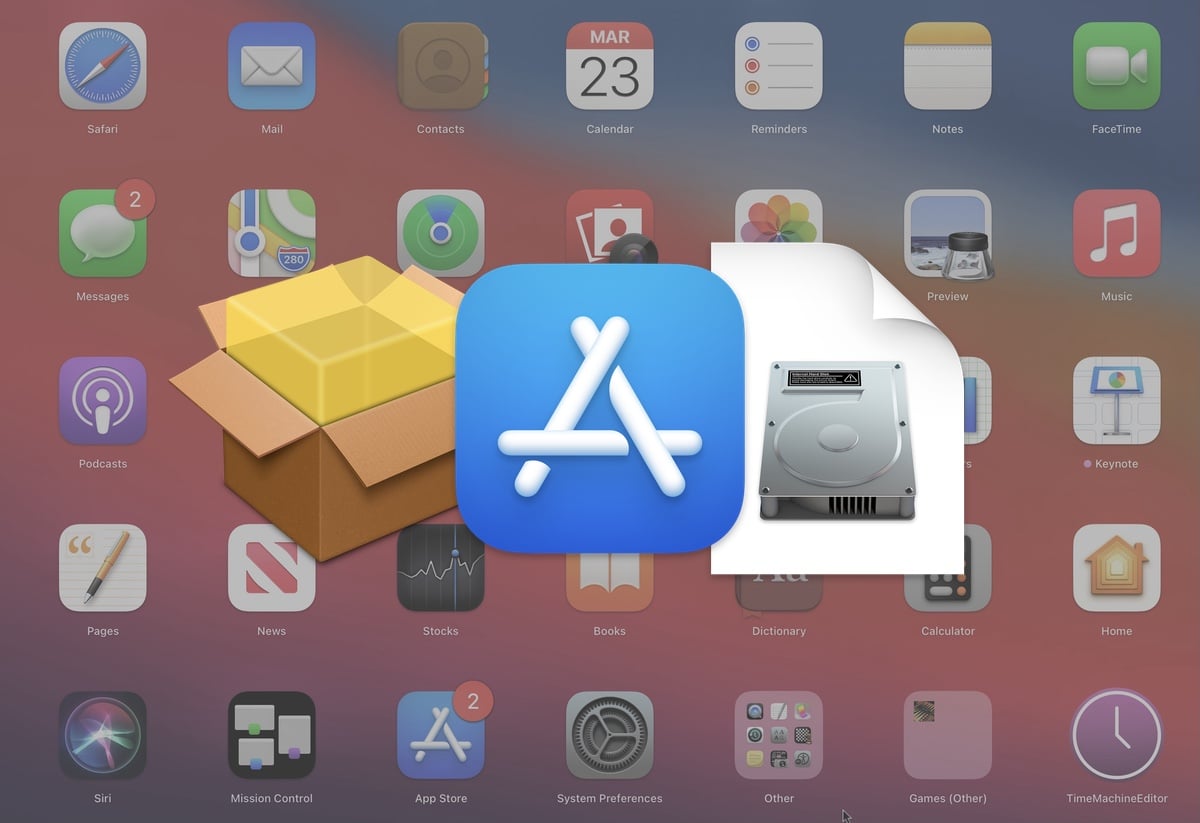
Installing new apps on your Mac should be straightforward. However, it can sometimes be confusing – installation methods are varied, and you'll occasionally see scary warnings. In this article, we'll show you the various ways you can install apps on Mac, and tell you about the warnings you may encounter.
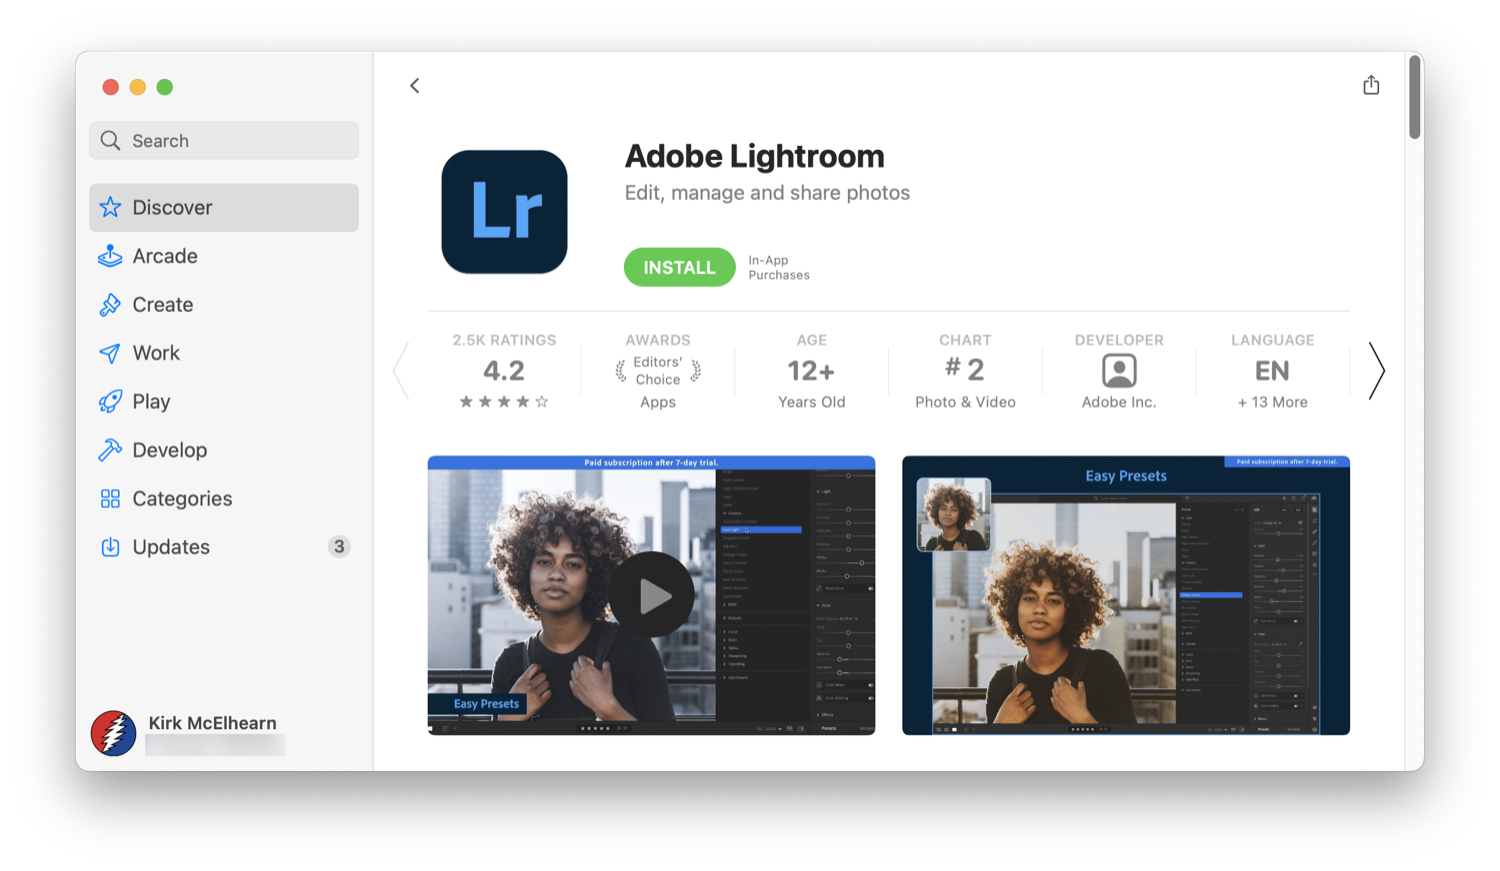
How to install apps from the Mac App Store
The Mac App Store is one of the best ways to get and install apps on your Mac. It has its pros and cons, but for ease of use, it gets the highest rating.
Select App Store from the Apple menu and the Mac App Store will open. When signed in with your Apple ID, you can download apps: click Get and then install app for a free app, or one with in-app purchases, or click the price label for a paid one. In-app purchases are indicated next to the Get button, if there are any. You'll need to confirm payment by entering your Apple ID/password.
Apple reviews every Mac App Store app (and update) prior to release, minimizing the likelihood of problems.
The App Store is also a great way to centralize your app updates. In System Preferences > Software Update, you can choose to have App Store updates installed automatically.
How to install Mac apps downloaded from third-party websites
Apple imposes limitations on developers, meaning some cannot – or choose not to – release their apps on the Mac App Store. Reasoning varies from a lack of deep system access for utilities to app creators wanting the ability to immediately issue updates rather than having them await Mac App Store review.
If you decide to download app installers from the Internet, only do so from reputable sources. Ideally, download from developer websites (like Intego's) and not from app listing websites.
Unless you've changed your browser's settings, downloaded installers will be sent to ~/Downloads, and they come in a variety of forms:
DMG files are mountable disk images. When you double click a DMG file, a Finder window opens. DMGs may contain an installer that itself must be opened, after which point you follow on-screen instructions. Most, though, simply contain a copy of the app.
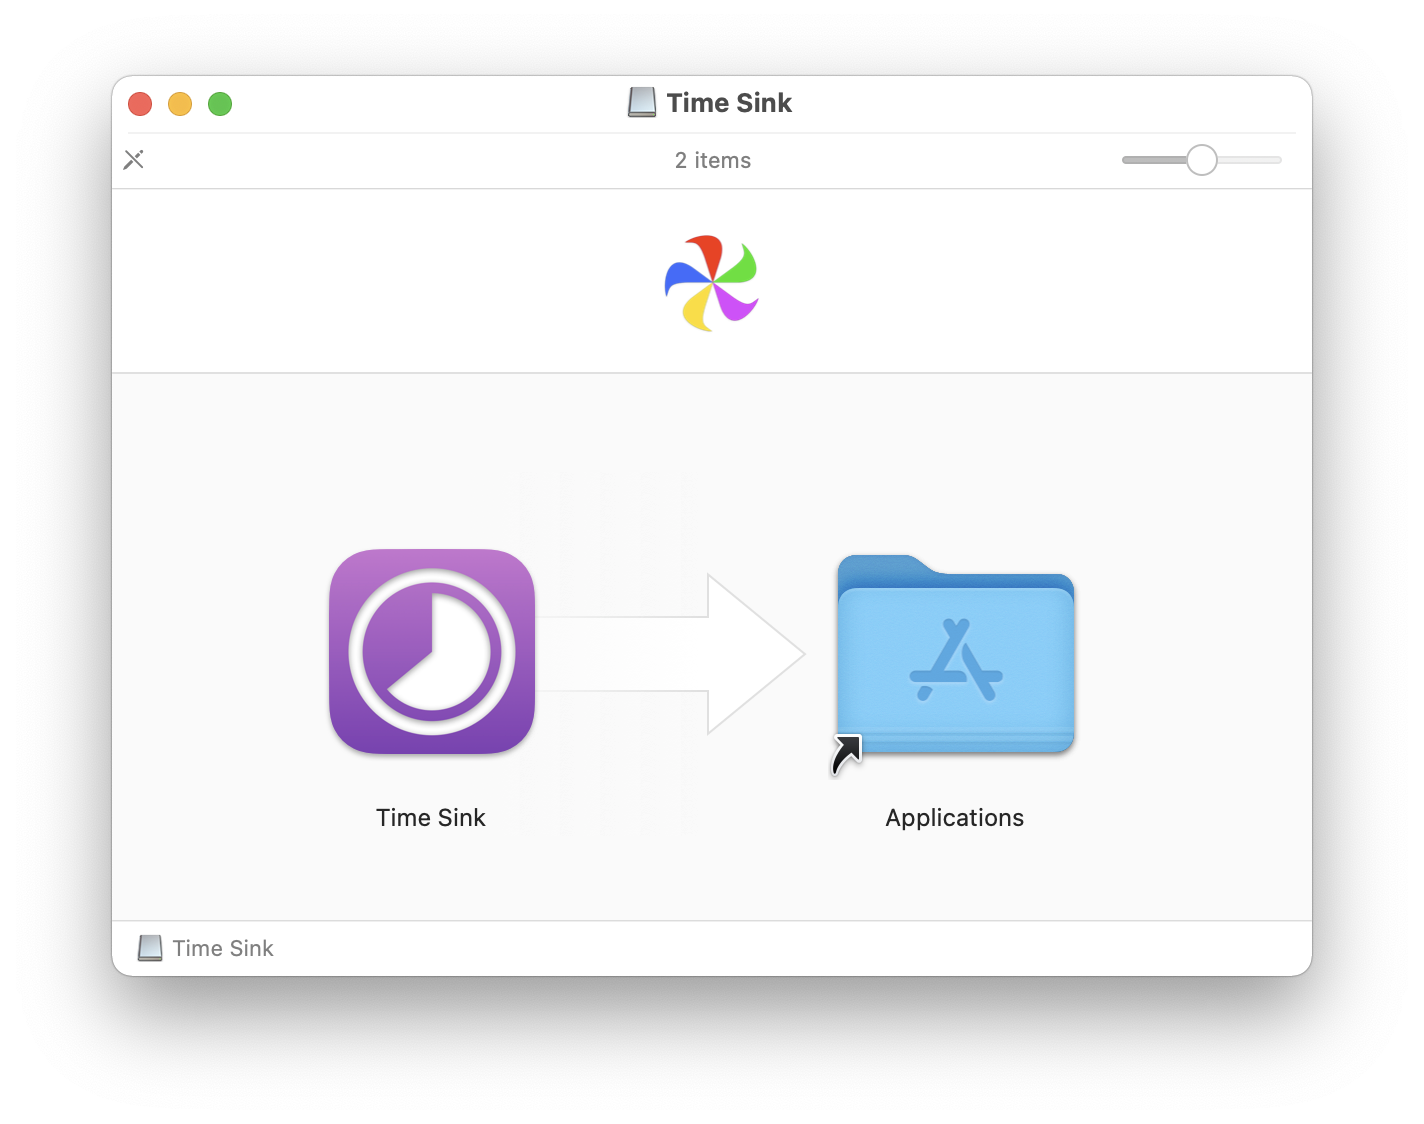
Do not run the app from inside the DMG – instead drag it to your Applications folder. A folder shortcut may be provided to make this easier. When you're done, unmount the DMG by clicking the eject icon next to its name in the Finder sidebar, or by Ctrl-clicking inside the DMG's window and selecting Eject.
ZIP files (and, very occasionally, RARs) are archives that tend to contain just an app. Again, drag the app to your Applications folder before opening it. In part, this keeps things tidy, but some apps won't run unless they're in that folder. (Some will offer to move themselves when opened from the wrong location.)
PKG files are installation packages that contain scripts to direct installation, and files to be installed. These lead you through a multi-step installation process, and tend to be used for apps and utilities that require additional components, system services, and/or files to be placed elsewhere on your computer. (This is automated; you essentially click a few times to allow the PKG to do its thing.)
Once you've installed your apps, you can delete the DMG, ZIP, or PKG files, but you may want to keep them, if the apps are large, and your bandwidth is limited, in case you need to reinstall the apps, or install them on another Mac.
How to install Mac apps from third-party app stores
There are some third-party equivalents to the Mac App Store. They're typically specialized in nature, and comprise a core app that when launched enables you to manage which products from the service you install on your Mac. Games store Steam is the most popular. It assumes you'll launch purchased games from within its app rather than /Applications, although it is possible to create desktop shortcuts you can subsequently move.
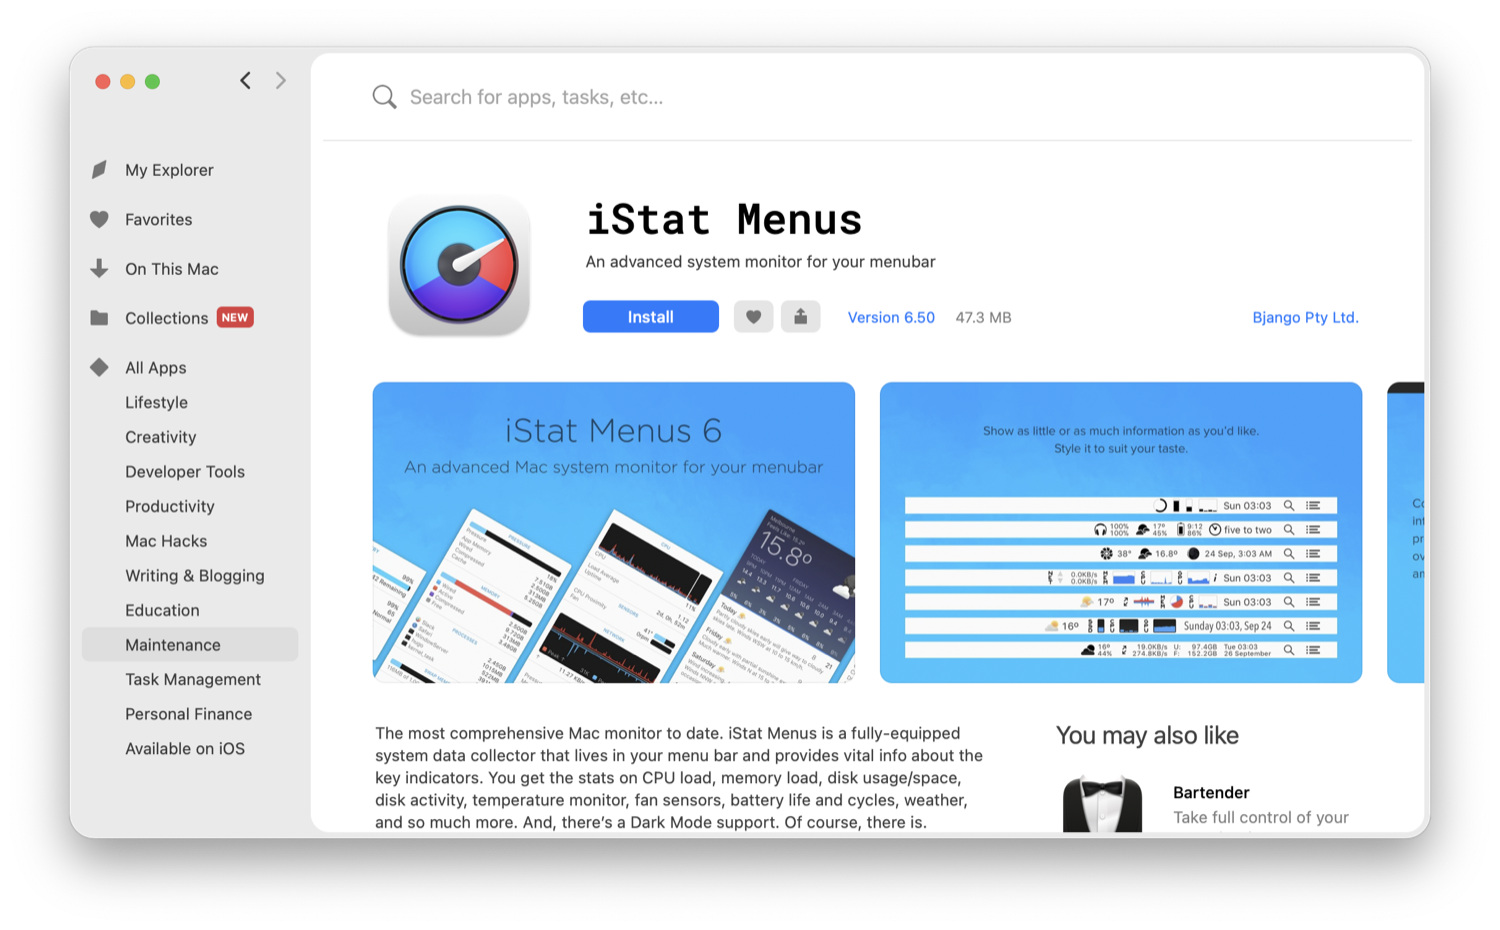
A more Mac-like example of a third-party app store is Setapp. It's sort of like a curated Netflix for apps – for a monthly fee, you get access to dozens of hand-picked apps. Installed apps are placed within /Applications/Setapp. Don't manually mess about with these; use Setapp's interface for subsequent management.
Clear warnings when installing apps
When installing and launching apps, your Mac may display security warnings. For example, when you download an app from the Internet, your Mac will ask for confirmation before you run it the first time. (This assumes that in the Security & Privacy pane of System Preferences you allow apps downloaded from identified developers. That is the default setting; it can be adjusted by clicking the lock, entering your admin password, and selecting the relevant radio button.)
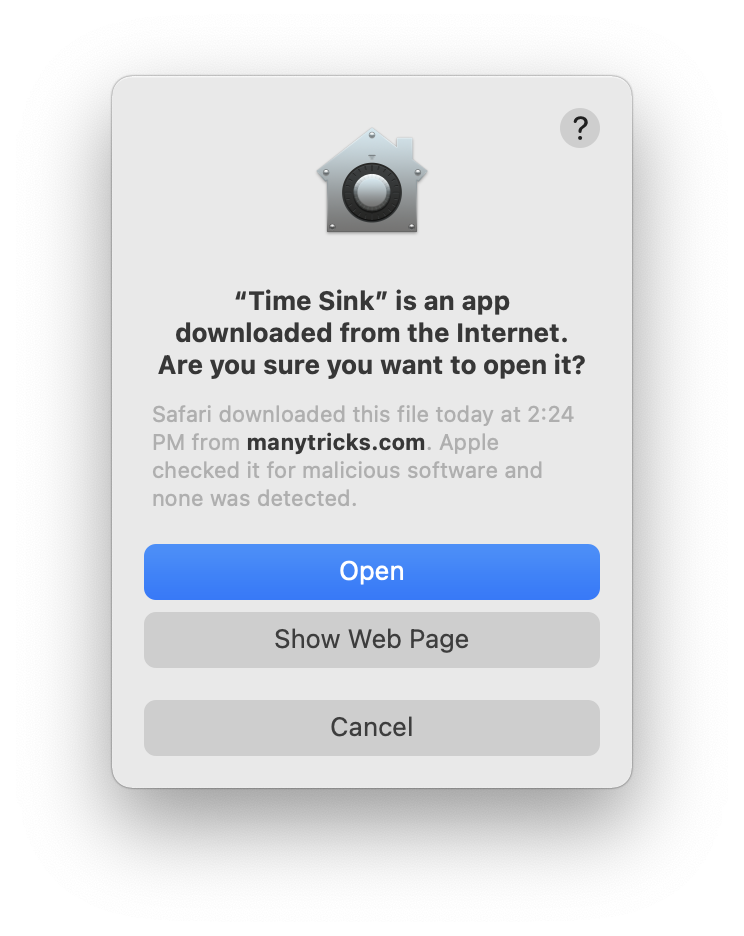
You may also get dialogs from apps, the first time you launch them, requesting access to things like your Downloads folder, camera, microphone, and other elements.
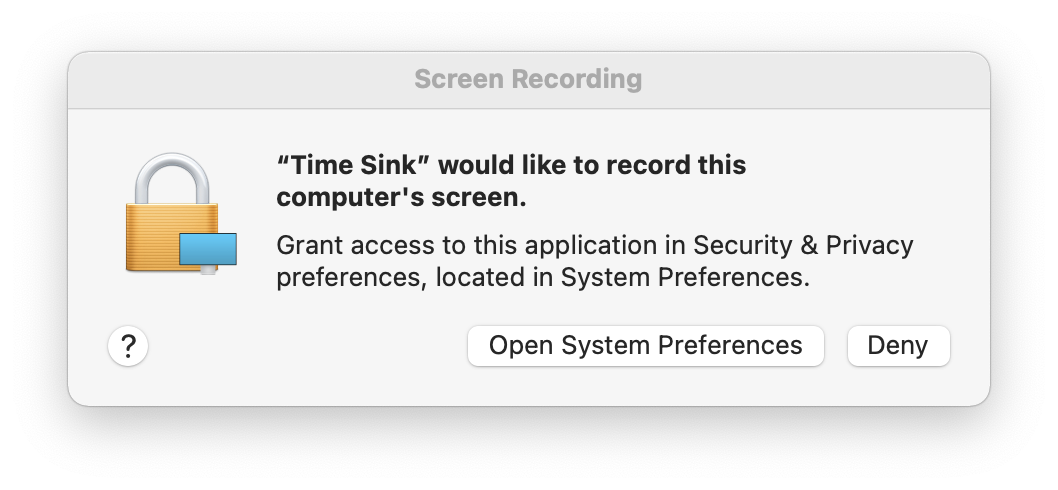
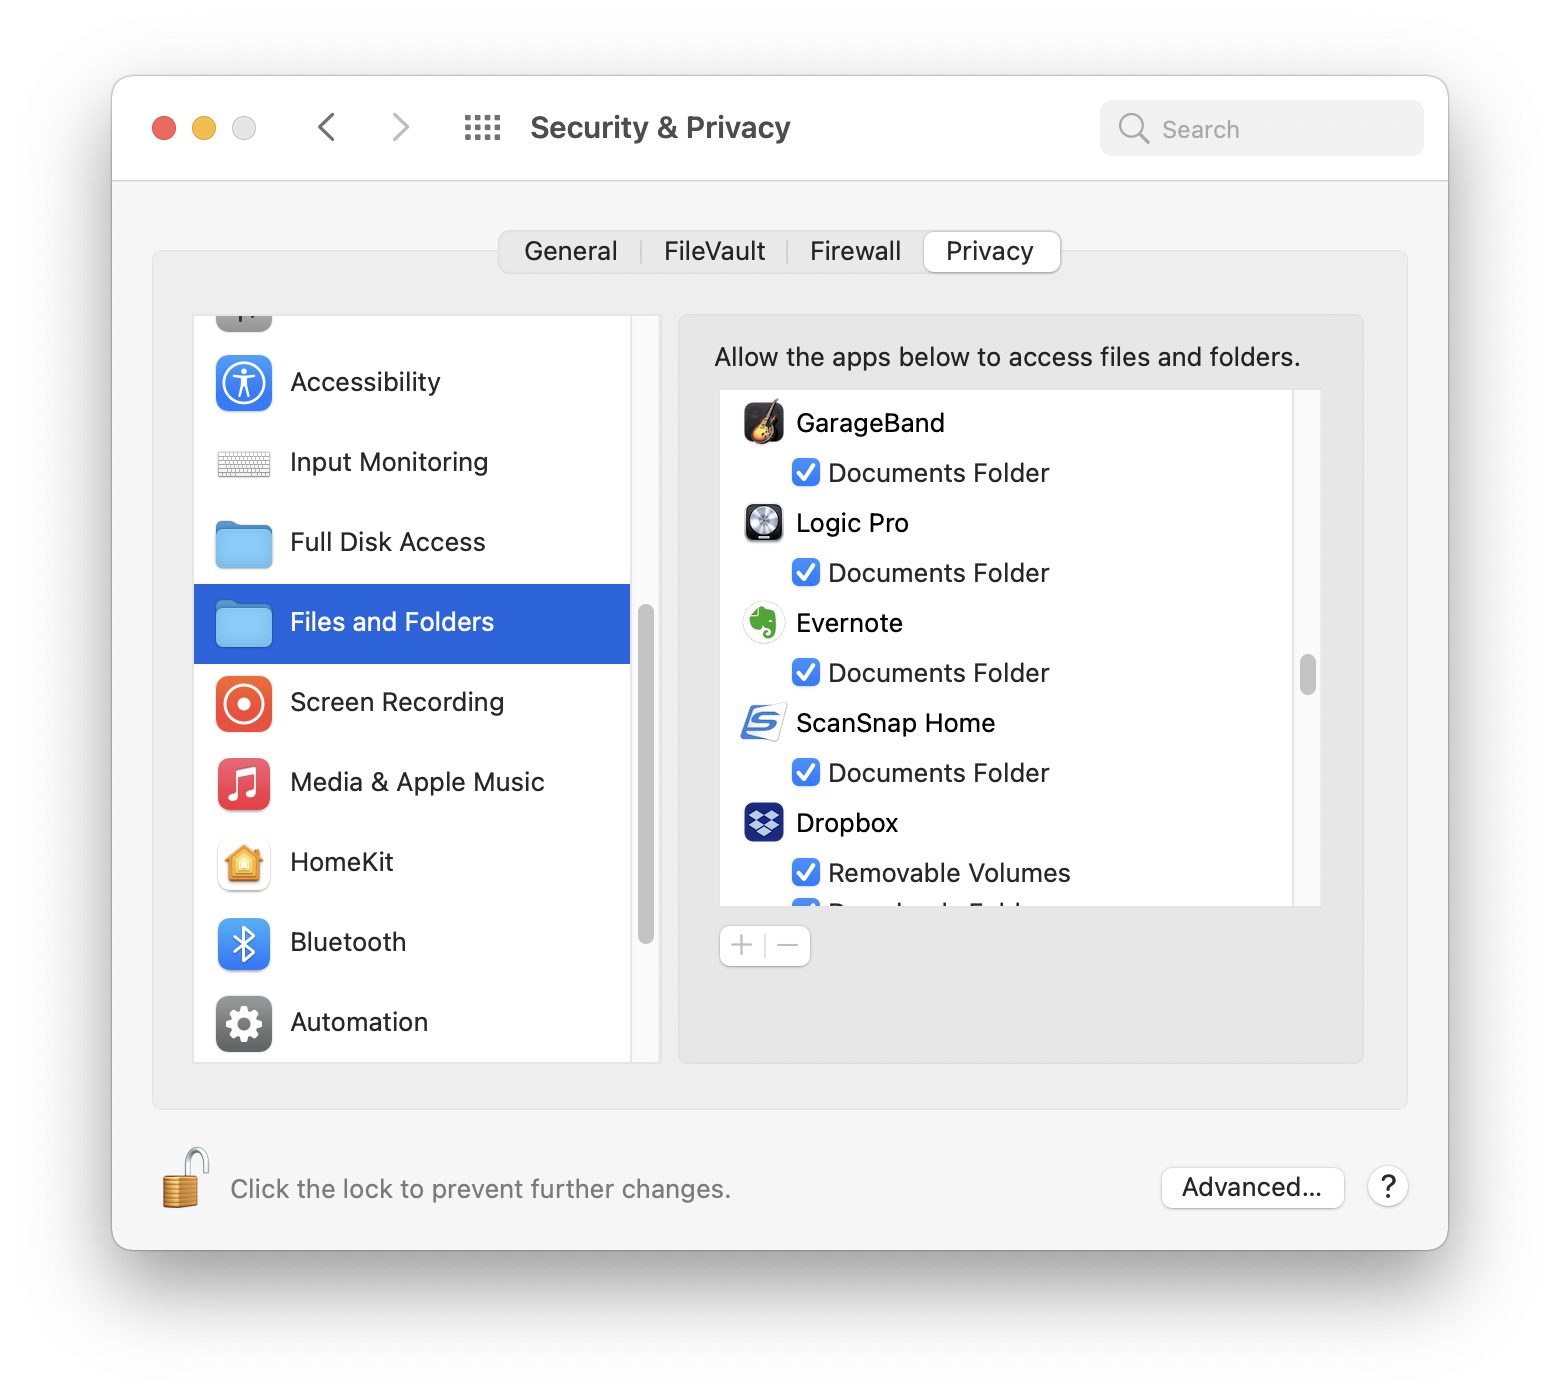
In some cases, such as granting access to your Downloads folder, you merely need to click OK on a dialog. But in others, such as the example above, you have go to System Preferences to explicitly grant permission. These settings are recorded in System Preferences > Privacy, and there is a whole column of areas where you can grant or deny permission to apps. When granting permission, you need to click the padlock, enter your password, then check the appropriate boxes.
In the General pane of System Preferences is a setting to allow apps downloaded from the App Store, or from the App Store and identified developers. These latter are developers who have accounts with Apple, and sign their apps with an Apple-provided certificate, to ensure their provenance.
But there are times when you may want to open apps from unidentified develops. To do this, select the app in the Finder, right-click or Control-click, then choose Open.
If you try to open an app from an unidentified developer by double-clicking, you can also open it by going to System Preferences > General, where there will be a button, near the bottom of the window, saying Open Anyway. Click this button to open the app. The button is visible for about an hour after you first launch the app.
You won't need to do this after the first time you launch an app; your Mac remembers your settings.
How can I learn more?
 Each week on the Intego Mac Podcast, Intego's Mac security experts discuss the latest Apple news, security and privacy stories, and offer practical advice on getting the most out of your Apple devices. Be sure to follow the podcast to make sure you don't miss any episodes.
You can also subscribe to our e-mail newsletter and keep an eye here on Mac Security Blog for the latest Apple security and privacy news. And don't forget to follow Intego on your favorite social media channels: Facebook, Instagram, Twitter, and YouTube.

About Craig Grannell
Craig Grannell is a technology writer, mostly specialising in Macs, iOS, apps, and games. He's been immersed in all things Apple for over 20 years, and enamoured with computers since getting his hands on a VIC-20 as a kid. He also has a Korg Gadget addiction. Send help. Or alternatively, visit his website, craiggrannell.com, and follow him on Twitter at @craiggrannell. View all posts by Craig Grannell →How To Add The Crack File In Teh App On Macbook Air
Source: https://www.intego.com/mac-security-blog/how-to-install-applications-on-your-mac/
Posted by: millersawite50.blogspot.com
0 Response to "How To Add The Crack File In Teh App On Macbook Air"
Post a Comment